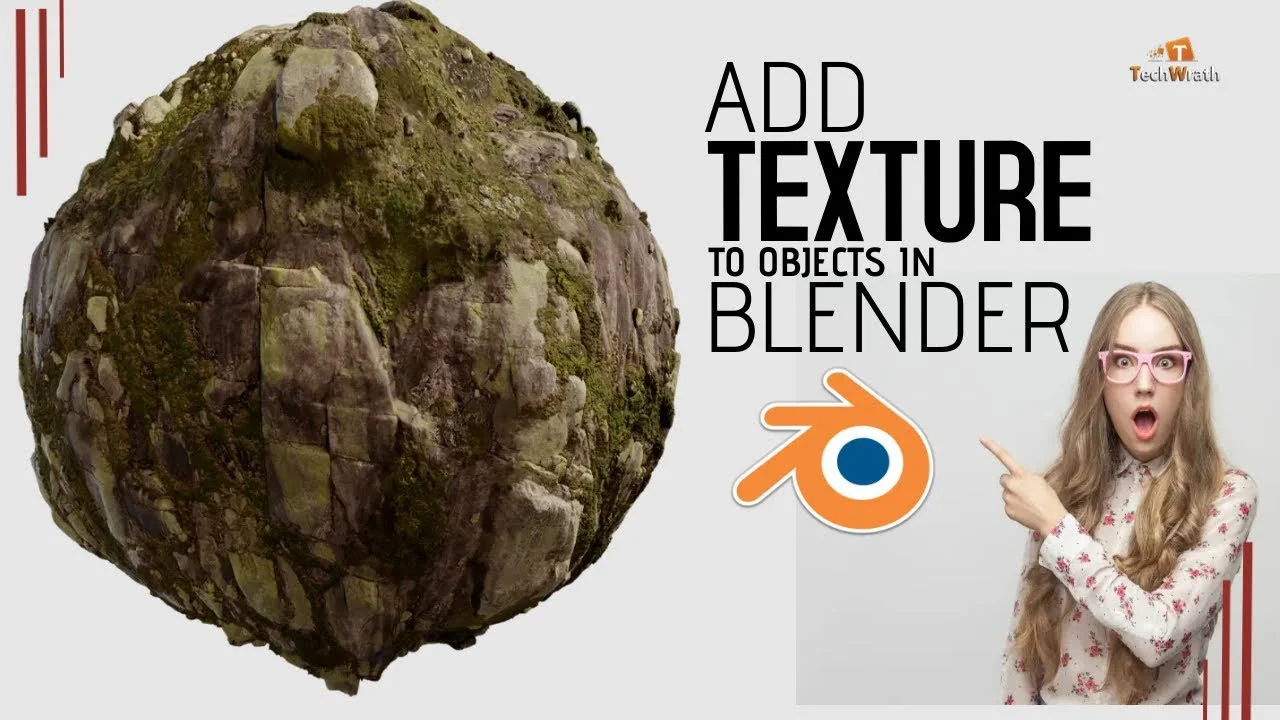
Have a look at our tutorial on YouTube Channel TechWrath Tv explaining: How to Add PBR Texture to object in blender for Beginners 2024. Physically Based Rendering (PBR) textures have become the industry standard for creating realistic materials in 3D modeling and rendering. PBR textures simulate how light interacts with different material properties, producing lifelike visuals. In this guide, we’ll walk you through the process of adding PBR textures to an object in Blender, even if you’re just starting.
Add PBR Texture Tutorial
What are PBR Textures?
PBR textures use multiple maps to define the surface properties of an object. The common texture maps include:
- Base Color (Albedo): Defines the surface color without lighting or shading.
- Roughness: Determines how rough or smooth the surface appears.
- Metallic: Specifies whether a surface behaves like a metal.
- Normal Map: Adds fine surface details like bumps without altering the geometry.
- Ambient Occlusion (AO): Adds shadowing to simulate ambient lighting in crevices.
Step-by-Step Guide to Adding PBR Textures in Blender
Step 1: Prepare Your Object
- Open Blender and either load an existing project or create a new one.
- Select the object you want to apply the PBR texture to (e.g., a cube, sphere, or custom model).
Step 2: Switch to the Shader Editor
- With your object selected, click on the “Shading” workspace tab at the top of the Blender interface or press Shift + F3 to open the Shader Editor.
- This window will display nodes connected to the selected object’s material.
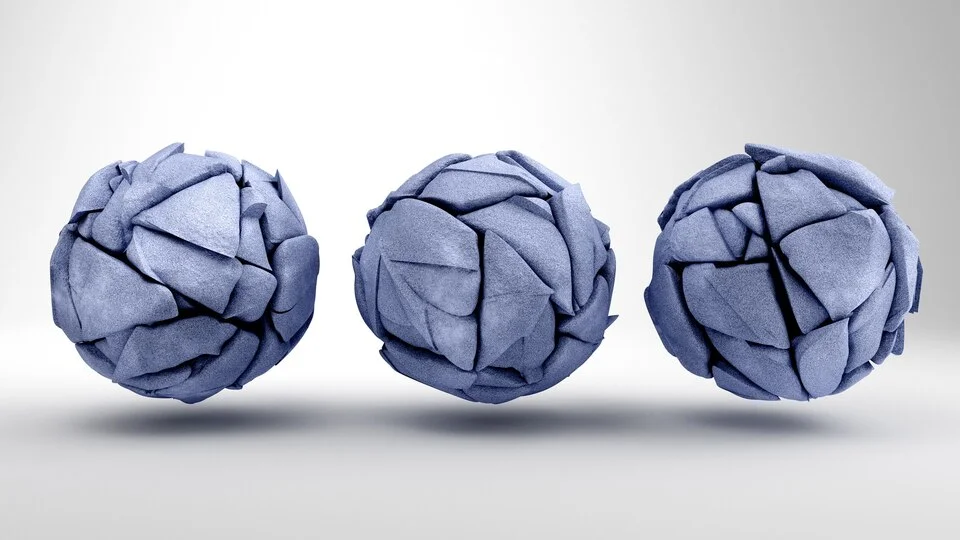
Step 3: Create a Material
- Select your object and navigate to the “Material Properties” panel on the right (symbolized by a red ball icon).
- Click “New” to create a new material for the object. This will automatically add a Principled BSDF shader node connected to a Material Output node in the Shader Editor.
Step 4: Import PBR Texture Maps
- In the Shader Editor, ensure that the Principled BSDF node is selected.
- Use Shift + A to add nodes for each PBR texture map.
- Base Color Map:
- Press Shift + A, navigate to “Texture” and click “Image Texture”.
- Connect the Image Texture node to the Base Color input of the Principled BSDF.
- Click “Open” and select your Base Color image map.
- Roughness Map:
- Add another Image Texture node, then connect it to the Roughness input.
- Load your Roughness texture and set “Color Space” to “Non-Color” to ensure accurate data transfer.
- Metallic Map:
- Repeat the process, adding an Image Texture node connected to the Metallic input of the Principled BSDF.
- Ensure “Color Space” is set to “Non-Color” for this map as well.
- Normal Map:
- Add an Image Texture node and load the Normal Map texture.
- Connect it to a Normal Map node, which can be added via Shift + A > “Vector” > “Normal Map”.
- Connect the Normal Map node to the Normal input of the Principled BSDF.
- Make sure the Image Texture’s “Color Space” is set to “Non-Color”.
- Ambient Occlusion (AO) (Optional):
- If you have an AO map, you can connect it to a Multiply node that mixes with the Base Color or use it to influence other aspects of your material as per your creative needs.
- Base Color Map:
Step 5: Adjust Material Settings
- Once all maps are connected, you can fine-tune the Principled BSDF shader settings to achieve the desired appearance.
- Adjust the Metallic and Roughness sliders if you need to modify the base properties.
- Experiment with other properties of the shader, such as Specular, Subsurface Scattering, or Clearcoat, to add more complexity to your material.
Step 6: Preview the Material in Different Render Modes
- Use the Viewport Shading modes (Solid, LookDev, and Rendered view) to preview the changes to your object.
- For final rendering, switch to Cycles (if not already selected) for more accurate lighting and reflections.
Step 7: Save Your Work
- Save your Blender file to retain all changes.
- Optionally, export your object if you need it for a game engine or another 3D application.
Additional Tips
- Ensure all your PBR textures are seamlessly tiled and correctly named for easy identification.
- Experiment with lighting setups, as lighting plays a significant role in showcasing PBR materials.
- Use high-resolution textures for maximum detail and realism.
By mastering these simple steps, you can create realistic, stunning materials that elevate your Blender projects, whether you’re modeling for games, animations, or renders.

